1.问题:
最近在学习Gunt打包,学习笔记如下;Grunt官网
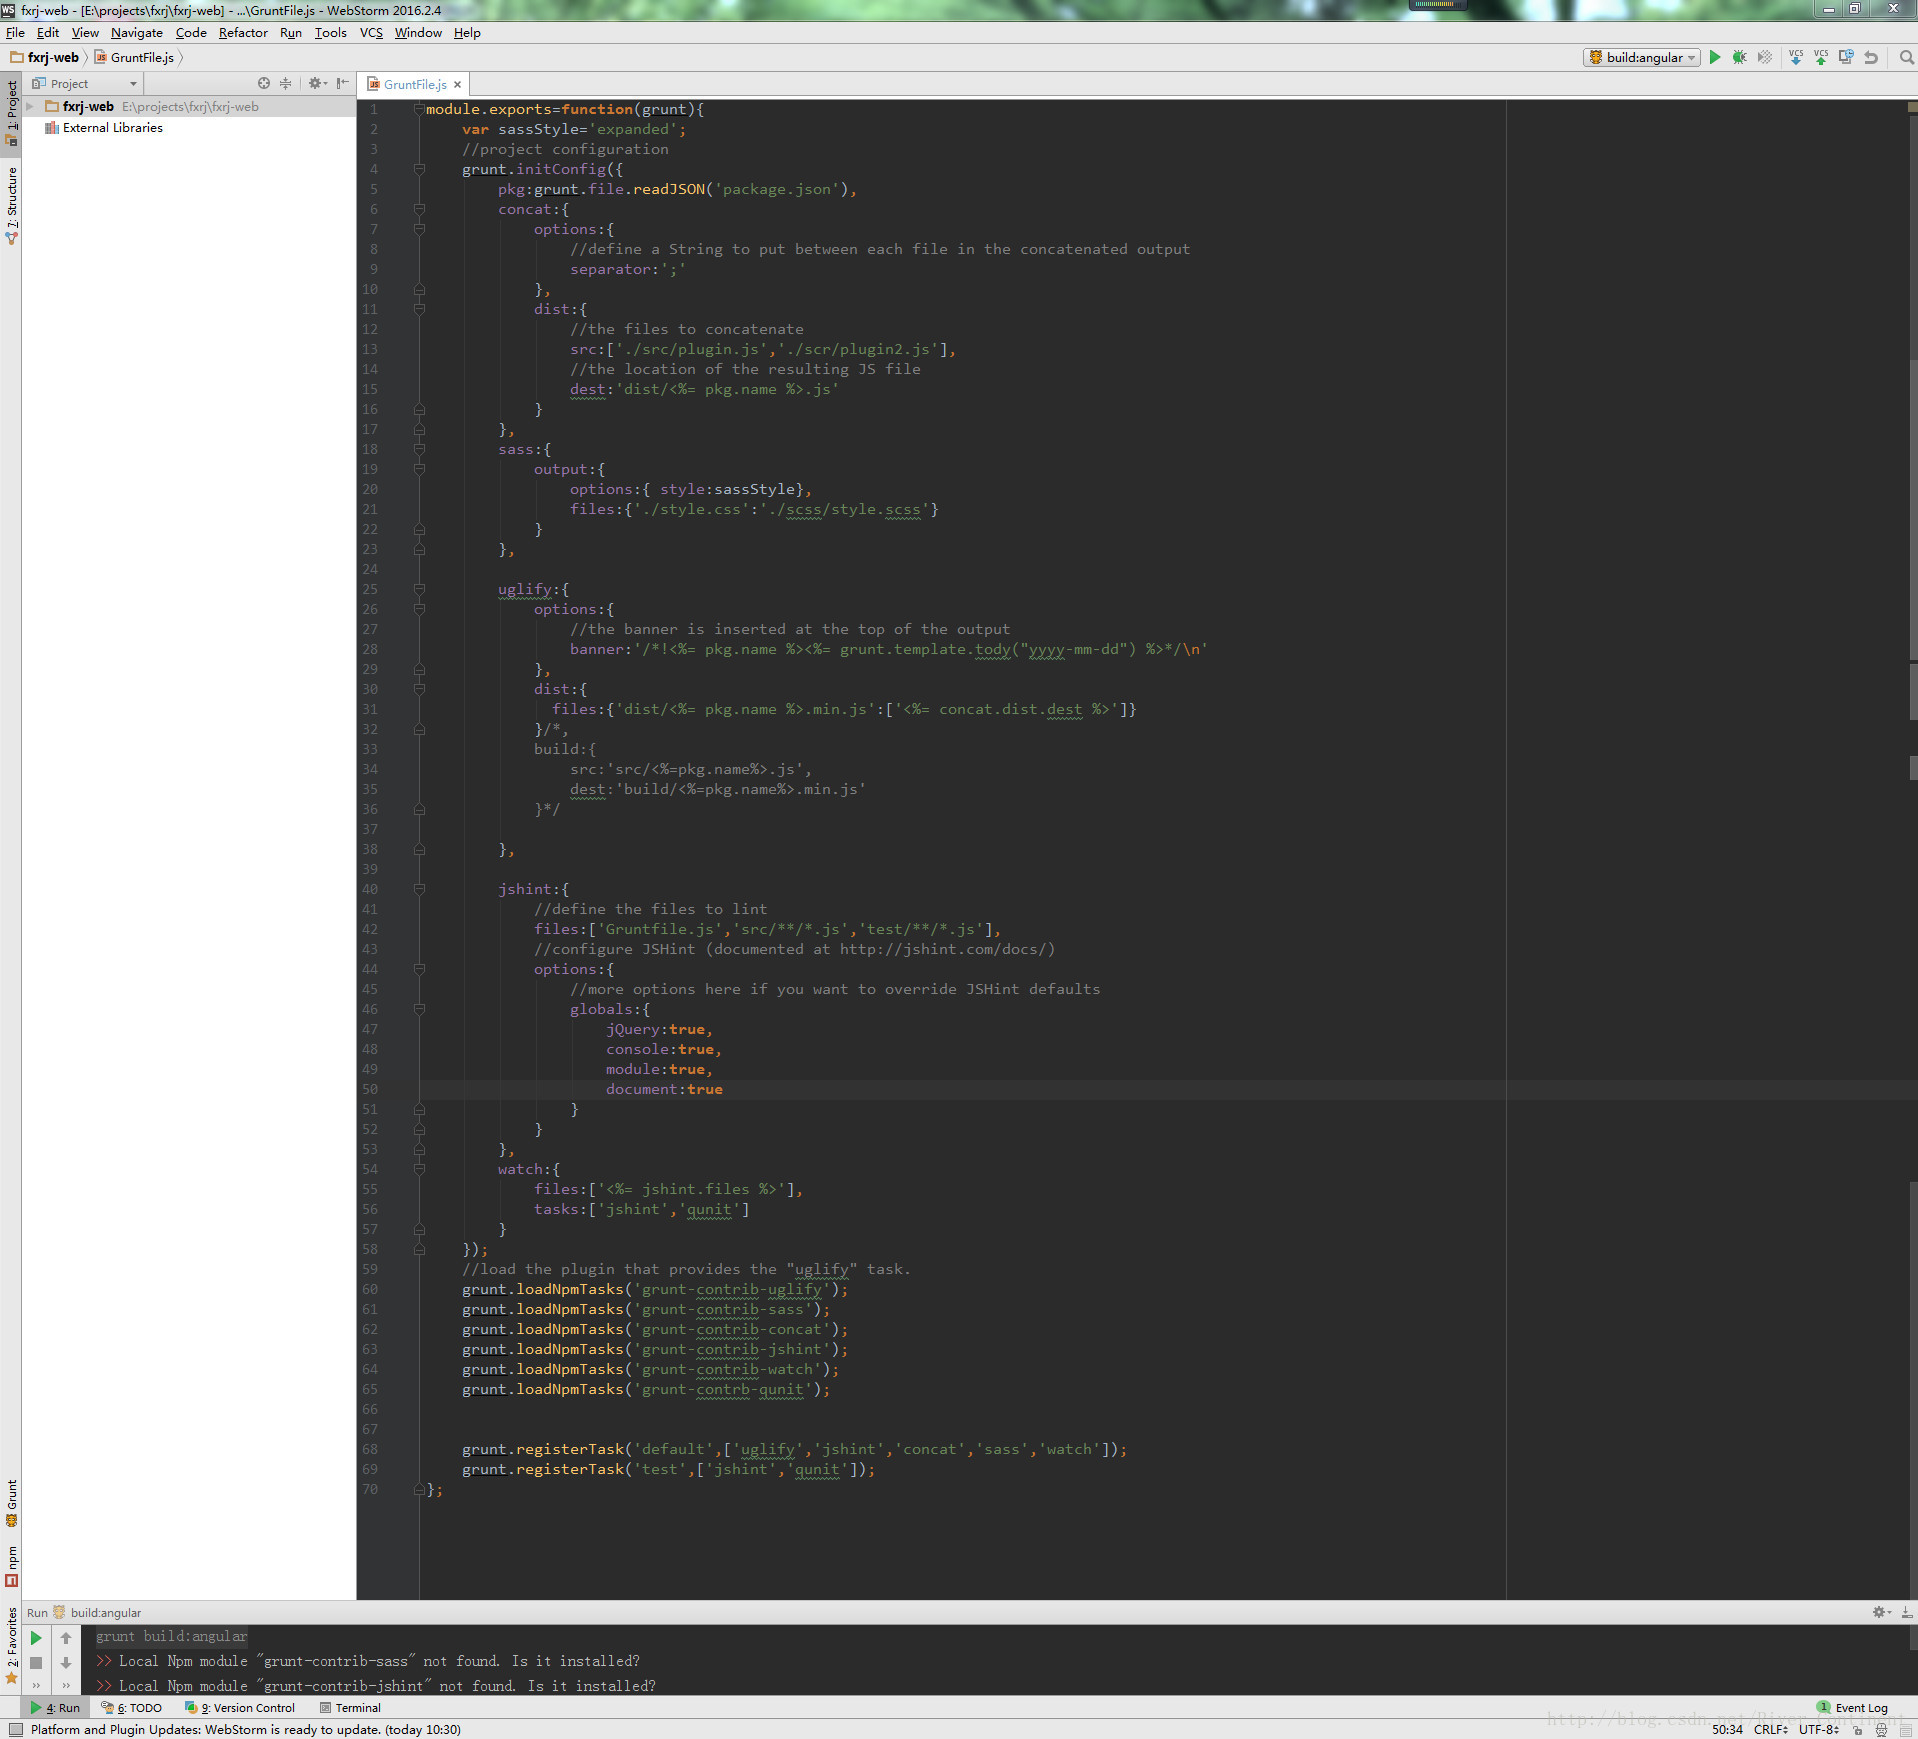
2.源代码:
module.exports=function(grunt){
    var sassStyle='expanded';
    //project configuration
    grunt.initConfig({
        pkg:grunt.file.readJSON('package.json'),
        concat:{
            options:{
                //define a String to put between each file in the concatenated output
                separator:';'
            },
            dist:{
                //the files to concatenate
                src:['./src/plugin.js','./scr/plugin2.js'],
                //the location of the resulting JS file
                dest:'dist/<%= pkg.name %>.js'
            }
        },
        sass:{
            output:{
                options:{ style:sassStyle},
                files:{'./style.css':'./scss/style.scss'}
            }
        },

        uglify:{
            options:{
                //the banner is inserted at the top of the output
                banner:'/*!<%= pkg.name %><%= grunt.template.tody("yyyy-mm-dd") %>*/n'
            },
            dist:{
              files:{'dist/<%= pkg.name %>.min.js':['<%= concat.dist.dest %>']}
            }/*,
            build:{
                src:'src/<%=pkg.name%>.js',
                dest:'build/<%=pkg.name%>.min.js'
            }*/

        },

        jshint:{
            //define the files to lint
            files:['Gruntfile.js','src/**/*.js','test/**/*.js'],
            //configure JSHint (documented at http://jshint.com/docs/)
            options:{
                //more options here if you want to override JSHint defaults
                globals:{
                    jQuery:true,
                    console:true,
                    module:true,
                    document:true
                }
            }
        },
        watch:{
            files:['<%= jshint.files %>'],
            tasks:['jshint','qunit']
        }
    });
    //load the plugin that provides the "uglify" task.
    grunt.loadNpmTasks('grunt-contrib-uglify');
    grunt.loadNpmTasks('grunt-contrib-sass');
    grunt.loadNpmTasks('grunt-contrib-concat');
    grunt.loadNpmTasks('grunt-contrib-jshint');
    grunt.loadNpmTasks('grunt-contrib-watch');
    grunt.loadNpmTasks('grunt-contrb-qunit');


    grunt.registerTask('default',['uglify','jshint','concat','sass','watch']);
    grunt.registerTask('test',['jshint','qunit']);
};
3.截图:
4.总结:
整个文档的结构如下:
【结构图】
①组件导出{
    ②声明变量;
    ③初始化配置{
        ④任务1,
        ④任务2,
        ④任务3,
        ...
        ④任务N
    }
    ⑤加载数据;
    ⑥注册;

}
下面对应上面的结构图做详细解释;
①在GruntFile.js文件中,首先,所有的代码都得在下面这个大框子里写,不要问为什么,格式;
module.exports=function(grunt){
    ...
}
②声明变量,仿照这种格式写;
var sassStyle='expanded';③【初始化配置】,在这个小框子里面写
grunt.initConfig({
    ...
});
④在【初始化配置】中,可以写好多任务,这些任务需要【加载】和【注册】,不要问为什么要加载和注册,人家的格式就是这样,就像你玩游戏必须要加载数据和注册账户,不然不让你玩;任务的写法仿照如下:
【连接】:负责各个js文件之间的联系的字符串,分隔符为分号【;】,src是js源,dist是位置,可以当距离来理解;
concat:{
            options:{
                //define a String to put between each file in the concatenated output
                separator:';'
            },
            dist:{
                //the files to concatenate
                src:['./src/plugin.js','./scr/plugin2.js'],
                //the location of the resulting JS file
                dest:'dist/<%= pkg.name %>.js'
            }
        },
【sass】css文件的压缩等任务专用;
sass:{
            output:{
                options:{ style:sassStyle},
                files:{'./style.css':'./scss/style.scss'}
            }
        },
【uglify】丑化,js文件打包用的,因为打包会压缩文件,变得很丑,就先你看流畅视频和超清视频;压缩版的一般都丑一些;
uglify:{
            options:{
                //the banner is inserted at the top of the output
                banner:'/*!<%= pkg.name %><%= grunt.template.tody("yyyy-mm-dd") %>*/n'
            },
            dist:{
              files:{'dist/<%= pkg.name %>.min.js':['<%= concat.dist.dest %>']}
            }/*,
            build:{
                src:'src/<%=pkg.name%>.js',
                dest:'build/<%=pkg.name%>.min.js'
            }*/

        },
【jshint】把文件传到jshint上去验证一下,是否压缩后会报错,(目前还没压缩),就像打一些过敏性针前先做个皮试,看会不会起反应;药厂要投入新药,先给小白鼠等动物实验下,如果没有问题再进行下一步操作,如果有问题,赶紧调试;
        jshint:{
            //define the files to lint
            files:['Gruntfile.js','src/**/*.js','test/**/*.js'],
            //configure JSHint (documented at http://jshint.com/docs/)
            options:{
                //more options here if you want to override JSHint defaults
                globals:{
                    jQuery:true,
                    console:true,
                    module:true,
                    document:true
                }
            }
        },
【watch】监控
        watch:{
            files:['<%= jshint.files %>'],
            tasks:['jshint','qunit']
        }
⑤【加载任务】把中的任务(即task)【加载】,你可以写好多任务,但是只【加载】其中的一两个,但是不可以【加载】没有的任务;
    // load the plugin that provides the "uglify" task.
    grunt.loadNpmTasks('grunt-contrib-uglify');
    grunt.loadNpmTasks('grunt-contrib-sass');
    grunt.loadNpmTasks('grunt-contrib-concat');
    grunt.loadNpmTasks('grunt-contrib-jshint');
    grunt.loadNpmTasks('grunt-contrib-watch');
    grunt.loadNpmTasks('grunt-contrb-qunit');
⑥【注册】类比游戏账号注册,安全有保障;
    grunt.registerTask('default',['uglify','jshint','concat','sass','watch']);
    grunt.registerTask('test',['jshint','qunit']);
这个命令可以帮助你查看打印打包错误日志:
uglify().on("error", function(error){console.log(error);})本篇完;
最后
以上就是大力方盒最近收集整理的关于【Grunt】Grunt打包入门的全部内容,更多相关【Grunt】Grunt打包入门内容请搜索靠谱客的其他文章。
本图文内容来源于网友提供,作为学习参考使用,或来自网络收集整理,版权属于原作者所有。


发表评论 取消回复