1.硬件准备
摄像头、arduino单片机,连接线
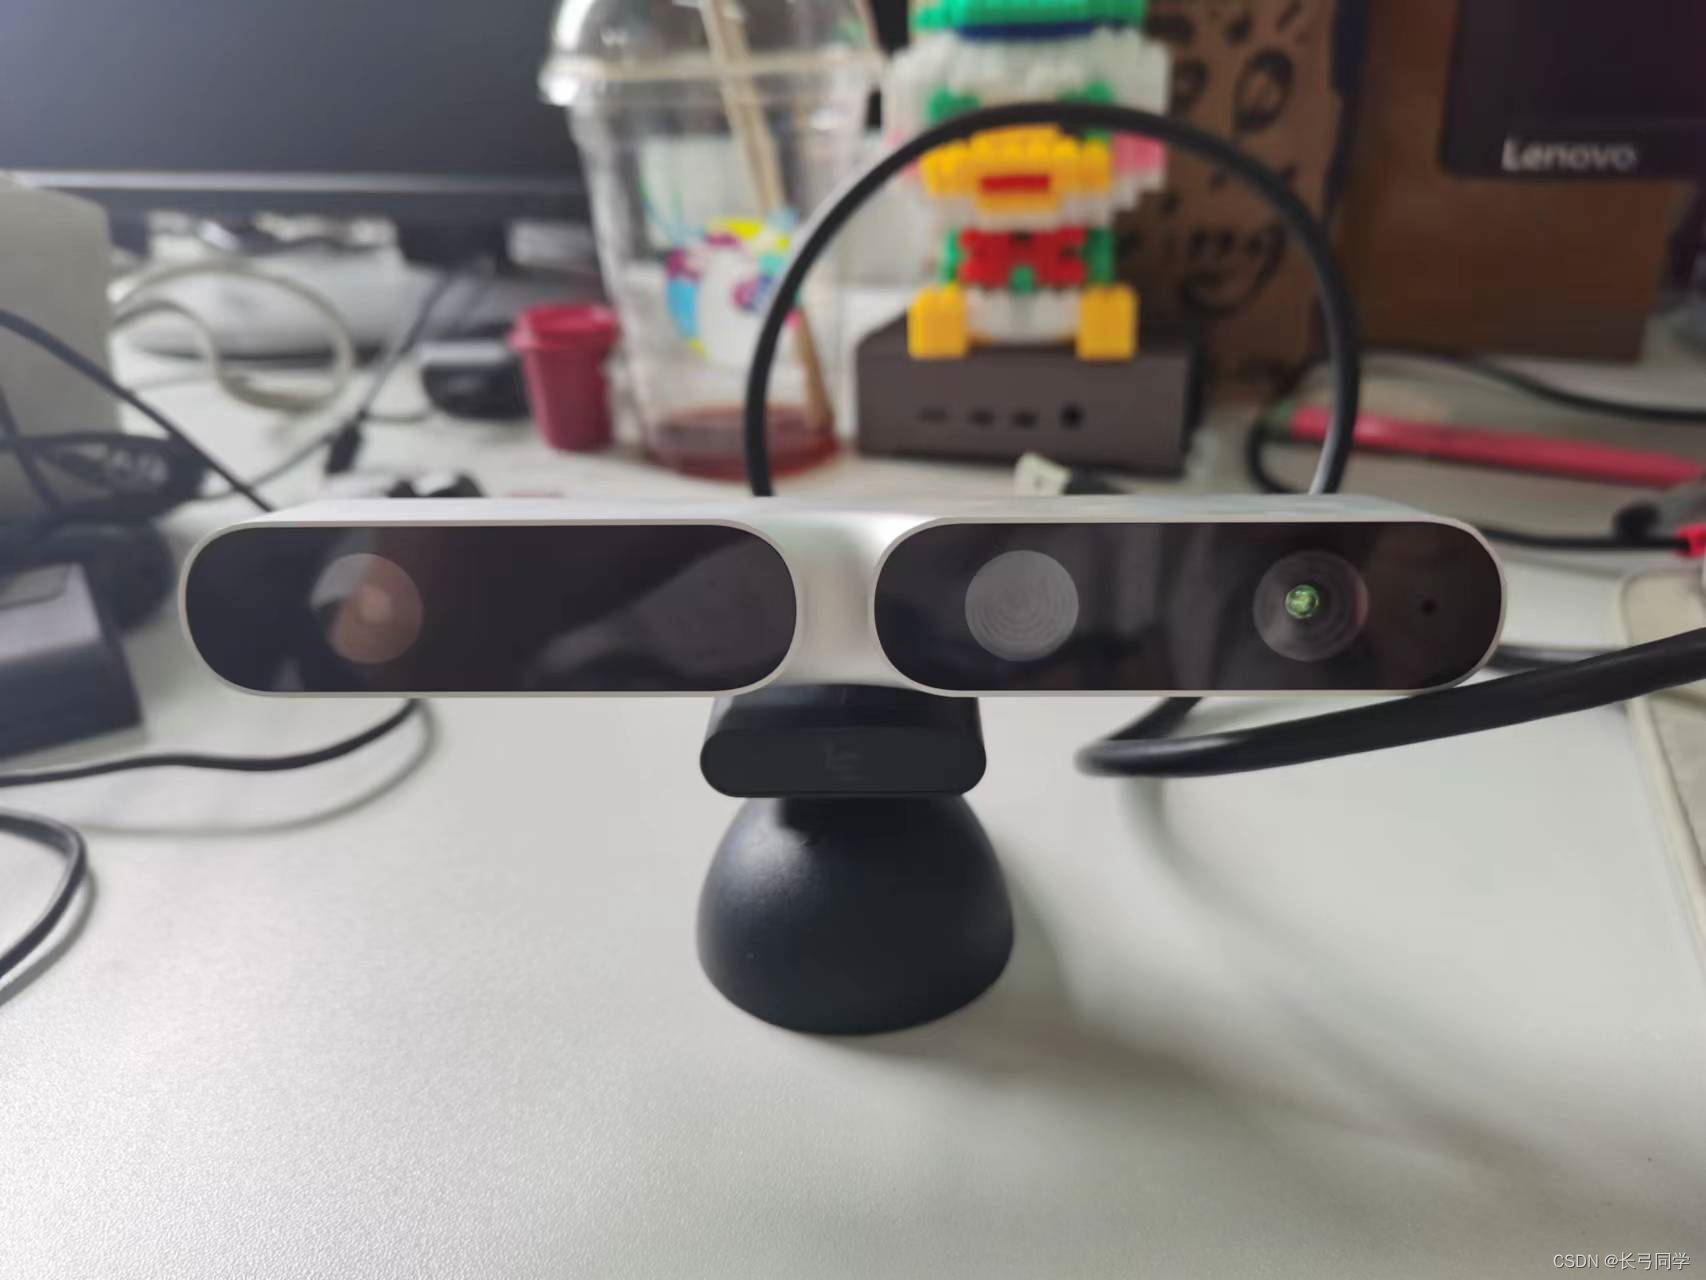
(如图为双目摄像头)
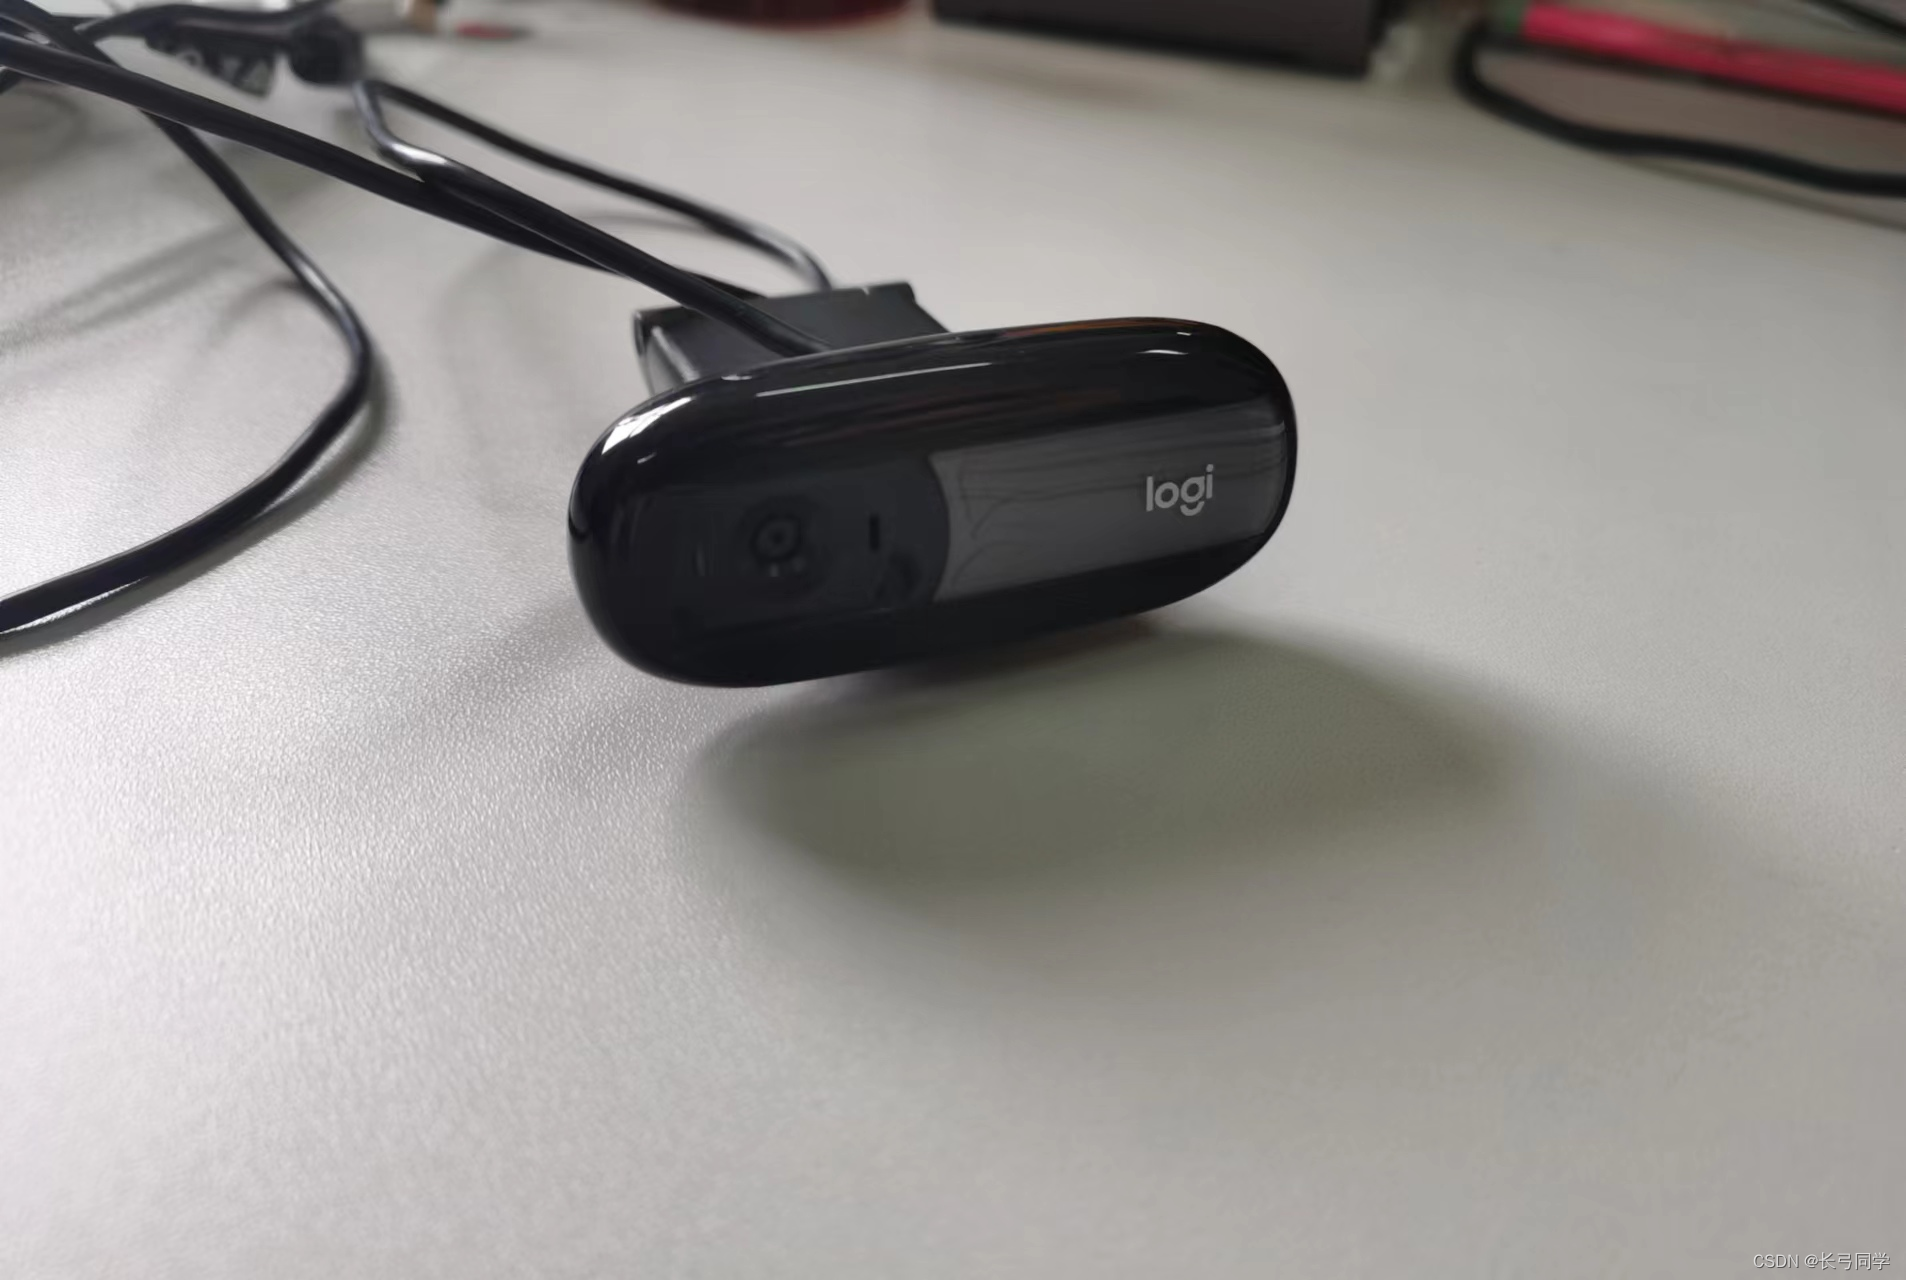
(如图为单目摄像头)
摄像头和arduino连接上树莓派
2.软件准备
配置opencv、numpy库
具体配置方法可以看这篇博客:(经验帖)不易出错的树莓派配置opencv方法,解决“No module named ‘cv2‘“问题. 亲测有效_长弓同学的博客-CSDN博客
3.代码
双目摄像头代码
import cv2
import serial
import numpy as np
import time
def connection(str):
    ser = serial.Serial('/dev/ttyACM0', 115200, timeout=1)
    try:
        while(True):
            send = str
            time.sleep(1)
            ser.write(send.encode())
            print(send)
            str1 = send.readline().decode()
    except:
            ser.close()
def main():
    cap = cv2.VideoCapture(0)
    lower_bule = np.array([100, 43, 46])
    upwer_bule = np.array([124, 255, 255])
    while(True):
        ret,frame=cap.read()
        frameHSV = cv2.cvtColor(frame, cv2.COLOR_BGR2HSV)
        mask = cv2.inRange(frameHSV, lower_bule, upwer_bule)
        median = cv2.medianBlur(mask, 5)
        res = cv2.bitwise_and(frame, frame, mask=median)
        erzhi = cv2.cvtColor(res, cv2.COLOR_BGR2GRAY)
        gs = cv2.GaussianBlur(erzhi, (5, 5), 0)
        _,contours, hierarchy = cv2.findContours(gs, cv2.RETR_EXTERNAL, cv2.CHAIN_APPROX_SIMPLE)
        cv2.drawContours(gs, contours, -1, (0, 255, 255), 2)
        area = []
        for i in range(len(contours)):
            area.append(cv2.contourArea(contours[i]))
        max_idx = np.argmax(area)
        for i in range(max_idx - 1):
            cv2.fillConvexPoly(gs, contours[max_idx - 1], 0)
        cv2.fillConvexPoly(gs, contours[max_idx], 255)
        moment = cv2.moments(contours[max_idx])
        if moment['m00'] != 0:
            cx = int(moment['m10'] / moment['m00'])
            cy = int(moment['m01'] / moment['m00'])
            cnt_centroid=cx, cy
        cv2.circle(contours[max_idx],cnt_centroid,5,[255,0,255],-1)
        frame = cv2.resize(gs, (256, 256))
        #左画面大小
        frame_left = frame[:, 0:128]
        #右画面大小
        frame_right = frame[:, 128:257]
        #左画面的图像值
        left = np.sum(frame_left == 255)
        #右画面的图像值
        right = np.sum(frame_right == 255)
        full = np.sum(frame == 255)
        #print(full)#需要重测
        #print(left)
        #print(right)
        if (left < right & full>80):
            connection("L")
            print("left")
        else:
            connection("R")
            print("right")
        cv2.imshow('frame',gs)
        if cv2.waitKey(1)==ord('q'):
            break
if __name__ == '__main__':
    main()
单目摄像头代码:
import cv2
import numpy as np
area = 0
cap = cv2.VideoCapture(1)  # 打开摄像头
while True:
    ret, frame = cap.read()  # 读取摄像头
    #BGR转HSV
    frameHSV = cv2.cvtColor(frame, cv2.COLOR_BGR2HSV)
    #HSV中蓝色的范围
    lower_bule = np.array([100, 43, 46])
    upwer_bule = np.array([124, 255, 255])
    #图像处理去除蓝色以外的颜色
    mask = cv2.inRange(frameHSV, lower_bule, upwer_bule)
    #中值检测
    median = cv2.medianBlur(mask,5)
    res = cv2.bitwise_and(frame, frame, mask=mask)
    #canny边缘检测
    Canny = cv2.Canny(median,10,200)

    #二值化操作
   # ret , binary = cv2.threshold(mask,0,255,cv2.THRESH_BINARY)
    #膨胀操作
    #kelnel = np.ones((9,9),np.uint8)
    #dilaiton = cv2.dilate(binary,kelnel,iterations=1)

    #获取图像轮廓坐标
    contours, hierarchy = cv2.findContours(Canny,cv2.RETR_EXTERNAL,cv2.CHAIN_APPROX_SIMPLE)
    if len(contours) > 0:
        boxes = [cv2.boundingRect(cnt) for cnt in contours]
        for box in boxes:
            x,y,w,h =box
            #画框
            cv2.drawContours(frame,contours,-1,(0,0,255),3)

    #计算图像面积大小
    for i in contours:
        area+=cv2.contourArea(i)
    print(area)


    #图像显示
    cv2.imshow('frame',frame)
    cv2.imshow('median',median)
    cv2.imshow('Canny',Canny)
    #cv2.imshow('binary',binary)
    #cv2.imshow('kelnel',kelnel)
    cv2.imshow("mask",mask)
    cv2.imshow("res", res)
    if cv2.waitKey(1) & 0xFF == ord('q'):  # 按q退出
        break

cap.release()
cv2.destroyAllWindows()

# 距离的判断根据色块的大小
# 判断色块位置图像侵占
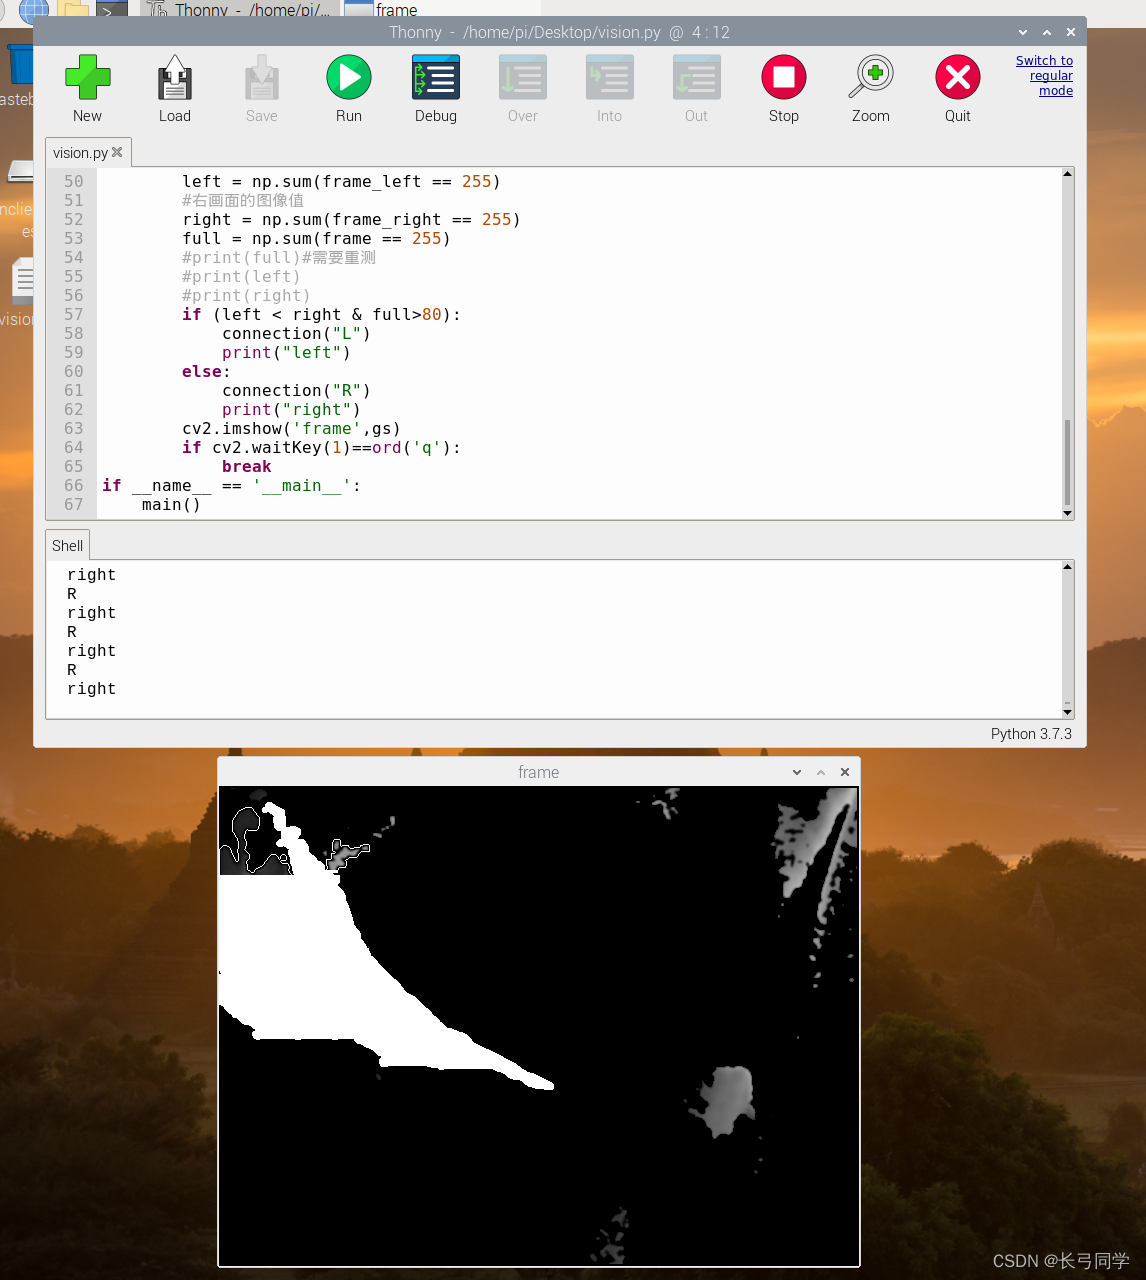
4.运行结果如下
最后
以上就是花痴超短裙最近收集整理的关于树莓派教程——树莓派连接并打开摄像头的全部内容,更多相关树莓派教程——树莓派连接并打开摄像头内容请搜索靠谱客的其他文章。
本图文内容来源于网友提供,作为学习参考使用,或来自网络收集整理,版权属于原作者所有。


发表评论 取消回复