一.效果展示
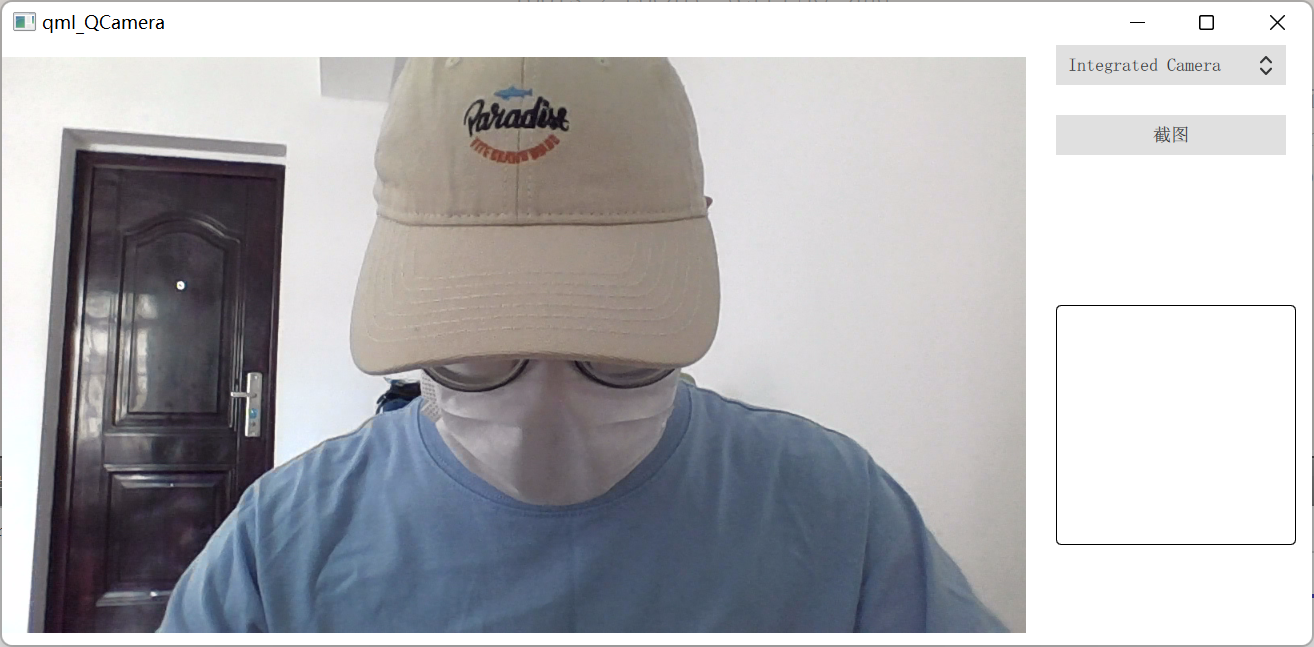
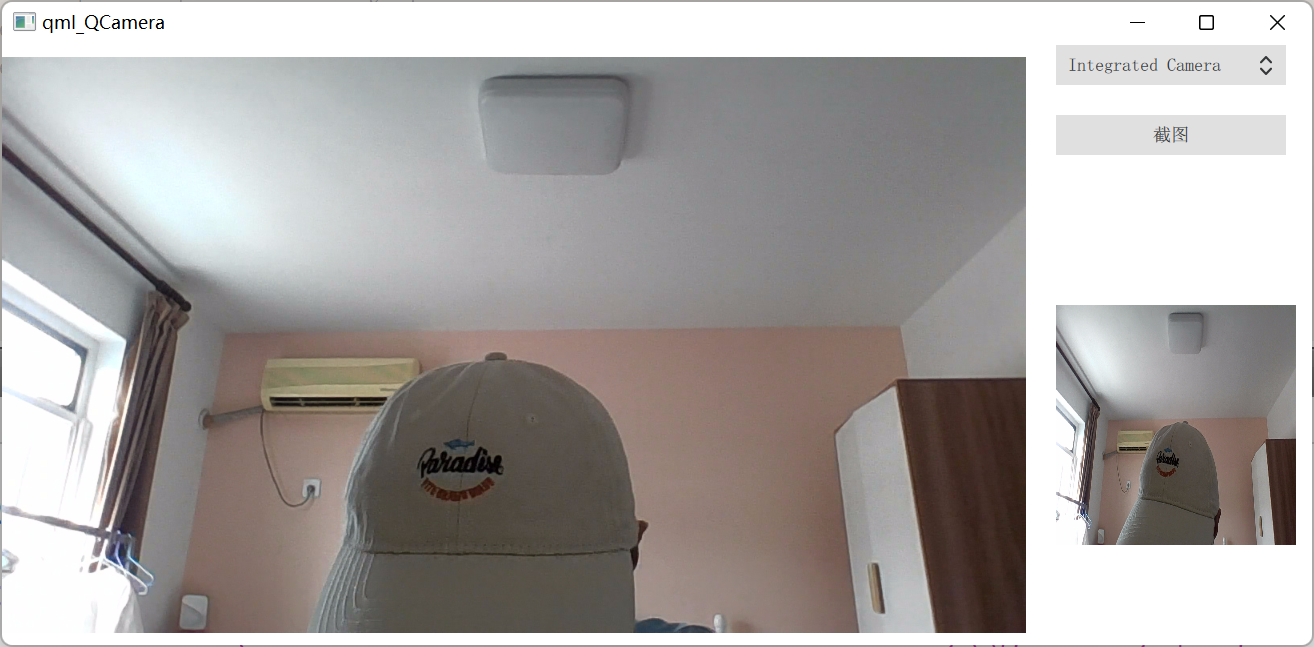
二.关键代码
QT5.9 编写
  //摄像头
       Camera {
           id: camera

       }

       //图片输出元素
       VideoOutput {
           id:videoOutput
           anchors.fill:parent
           source: camera
       }
   }


   //切换摄像头设备
   ComboBox {
       id: comboBox
       anchors.left: rect.right
       anchors.leftMargin: 30
       width: 230
       height: 40
       textRole: "text"    //首先需要设置一个角色(告诉编译器是什么)  指出下面Json中的key 还是 value
       model: ListModel{
            id:model
        }

   }


 //初始化摄像头选择框
Component.onCompleted: {
       var camreaDevices = QtMultimedia.availableCameras
       for(var i = 0; i < camreaDevices.length; i++)
       {
           var json = {}
           json["text"] = camreaDevices[i].displayName
           json["value"] = camreaDevices[i].deviceId
           model.append(json)
           console.debug("***************",JSON.stringify(json),camreaDevices[i])
           if(QtMultimedia.defaultCamera.deviceId === camreaDevices[i].deviceId)
               comboBox.currentIndex = i
       }
   }


   //关联对应的信号和槽函数,将图编保存地址打印出来
   Connections {
       target: camera.imageCapture
       onImageSaved: {
           //打印出图标保存地址
           console.log("***"+path);
       }
       onImageCaptured:{
           console.debug("onImageCaptured():",requestId,preview)
           imageCapture.source =  preview
       }
   }

//截取的图片
   Rectangle{
       id:rect_Image
       anchors.top: shotButton.bottom
       anchors.topMargin: 150
       anchors.left: shotButton.left
       width:240
       height: 240
       radius: 5
       border.color: "black"
       border.width: 1
       Image{
           id:imageCapture
//           fillMode: Image.PreserveAspectFit
           cache: false
           anchors.fill: parent


       }
   }
三.源码分享
qml的摄像头视频输出demo (截图功能) 见本人资源
最后
以上就是忧心花瓣最近收集整理的关于qml的摄像头视频输出demo (截图功能)一.效果展示的全部内容,更多相关qml的摄像头视频输出demo内容请搜索靠谱客的其他文章。
本图文内容来源于网友提供,作为学习参考使用,或来自网络收集整理,版权属于原作者所有。


发表评论 取消回复