接下来开始写一个单元测试用例练习,这个就不是单元测试方法中执行打印语句,而是真正的模拟测试代码来进行的。我网上找了一个简单代码来作为我们单元测试的项目。
1.被测项目
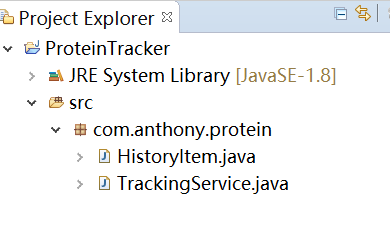
这么一个项目,就两个Java类文件,这个项目意思是蛋白质跟踪的一个功能实现。里面有一些蛋白质添加和蛋白质减量,和是否达标等纪录的方法。下面是两个文件的具体代码。
package com.anthony.protein;

public class HistoryItem {
	private final int id;
	private final int amount;
	private final String operation;
	private final int total;

	public HistoryItem(int id, int amount, String operation, int total){
	    this.id = id;
	    this.amount = amount;
	    this.operation = operation;
	    this.total = total;

	}

	public int getId(){
	    return id;
	}

	public int getAmount(){
	    return amount;
	}

	public String getOperation(){
	    return operation;
	}

	public int getTotal(){
	    return total;
	}

}
这个像一个Java Bean类,四个字段,四个get方法,没有set方法,一个带参数的构造函数。
package com.anthony.protein;

import java.util.ArrayList;
import java.util.List;

public class TrackingService {

	private int total;
	private int goal;
	private List<HistoryItem> history = new ArrayList<HistoryItem>();
	private int historyId = 0;

	public void addProtein(int amount){
	    total += amount;
	    history.add(new HistoryItem(historyId++, amount,"add", total));
	}

	public void removeProtein(int amount){
	    total -= amount;
	    if(total < 0){
	        total = 0;
	    }
	    history.add(new HistoryItem(historyId++, amount,"subtract", total));
	}

	public int getTotal(){
	    return total;
	}

	public void setGoal(int value){
	    goal = value;
	}

	public boolean isGoalMet(){
	    return total >= goal;
	}

	public List<HistoryItem> getHistory(){
	    return history;
	}

}
这个方法就是我们重点要测试的业务代码。一个加蛋白方法,一个减蛋白方法,一个获取总量方法,一个获取目标方法,一个判断目标是否达标方法,一个获取历史纪录方法。这些方法,后面我们Junit单元测试都需要去覆盖到进行测试。
2.创建单元测试项目和配置
被测试工程已经准备好了,接下来,我们需要创建一个单元测试工程。我认为这种方式很对,被测工程一般都是开发给你的,写单元测试的同学应该新建一个项目,而不是在别人工程里添加测试包,以免干扰别人开发。
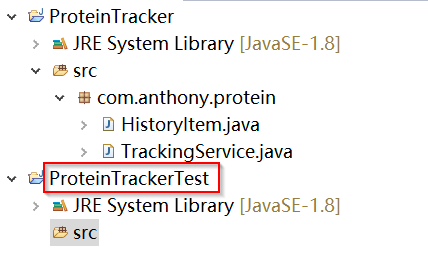
2.1 在Eclipse上创建一个Java工程
一般单元测试工程名称是被测对象名称后面加上Test.
2.2 配置Junit被测对象,进行关联
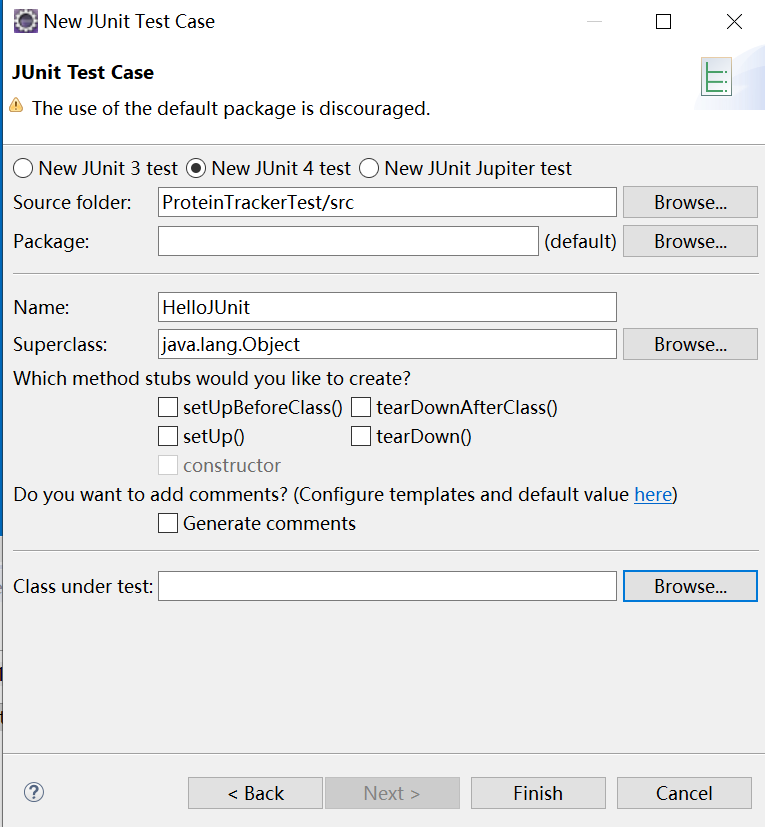
在src右键,new->other-Junit Test Case
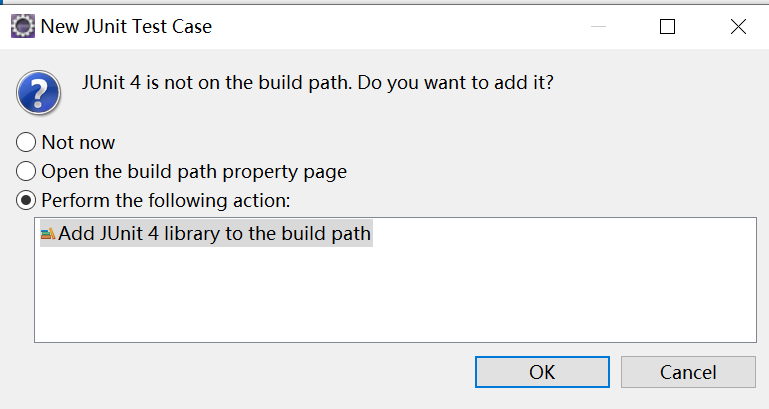
add build path
点击OK之后,默认给你创建一个JUnit单元测试用例,运行这个,结果是失败,这个是期待结果。
然后选择需要被测工程进行关联
右键单元测试这个工程,选择Build Path-> Config Build Path..., 在project中添加我们被测工程进来。

到这里,我们所有前提环境都准备好了,可以开始针对这个被测工程进行写单元测试用例。
3.第一个单元测试用例
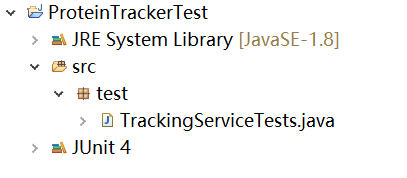
首先,在单元测试工程的这个包下新建一个TrackingService.java的一个Java类,用来写单元测试用例。还是建议给包取一个名称,然后再创建一个Junit Test Case, 这个更规范一些。
package test;
import static org.junit.Assert.*;

import org.junit.Test;

import com.anthony.protein.TrackingService;

public class TrackingServiceTests {

	@Test
	public void newTrackingServiceTotalIsZero() {
		TrackingService ts = new TrackingService();
		assertEquals("Tracking service total was not zero", 0, ts.getTotal());
	}

}
上面这个单元测试的目的是,一上来,刚初始化的TrackingService对象中的total的值是为0,如果你学习过Java,你应该知道,再类中,字段如果是int类型,默认初始化就是为0,如果是引用数据类型,默认就是为null。
解释以下这个用例,用例名称建议写一些有意义的方法名,让别人一看就知道干什么。先new一个TrackingService对象,然后利用JUnit的断言方法进行判断total这个值是不是等于0,如果不等于0,这个“Tracking service total was not zero”就会被打印出来,我们这里把0,改成1,再来运行这个测试用例。
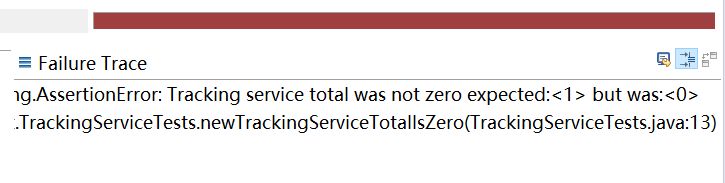
第一行就打印出这个消息,然后告诉我们期待结果是1,但是实际是0.
下面再写一个测试用例,调用addProtein(int mount)方法之后,判断total的值同样增加到和mount一样大小。
package test;
import static org.junit.Assert.*;

import org.junit.Test;

import com.anthony.protein.TrackingService;

public class TrackingServiceTests {

	@Test
	public void newTrackingServiceTotalIsZero() {
		TrackingService ts = new TrackingService();
		assertEquals("Tracking service total was not zero", 1, ts.getTotal());
	}

	@Test
	public void whenAddingProteinTotalIsIncreaseByAmount() {
		TrackingService ts = new TrackingService();
		ts.addProtein(10);
		assertEquals(10, ts.getTotal());
	}

}
测试下是运行通过。
最后
以上就是隐形流沙最近收集整理的关于Junit入门到掌握-5-JUnit基础-简单的真实单元测试项目练习的全部内容,更多相关Junit入门到掌握-5-JUnit基础-简单内容请搜索靠谱客的其他文章。


发表评论 取消回复