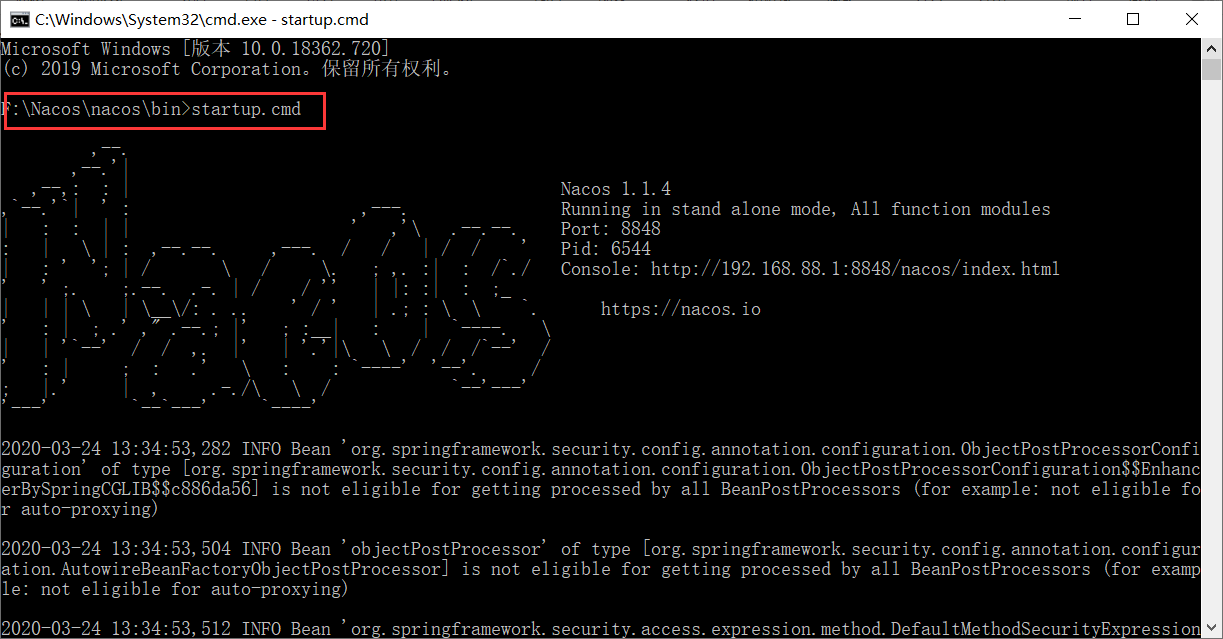
1.启动服务注册中心 Nacos8848
2.新建module cloudalibaba-sentinel-service8401
<!--pom.xml依赖-->
<dependencies>
    <!--springcloud alibaba nacos-->
    <dependency>
    	<groupId>com.alibaba.cloud</groupId>
    	<artifactId>spring-cloud-starter-alibaba-nacos-discovery</artifactId>
    </dependency>
    <!--springcloud alibaba sentinel-datasource-nacos 后续做持久化用到-->
    <dependency>
        <groupId>com.alibaba.csp</groupId>
    	<artifactId>sentinel-datasource-nacos</artifactId>
    </dependency>
    <!--springcloud alibaba sentinel-->
    <dependency>
        <groupId>com.alibaba.cloud</groupId>
    	<artifactId>spring-cloud-starter-alibaba-sentinel</artifactId>
    </dependency>
    <dependency>
        <groupId>org.springframework.cloud</groupId>
    	<artifactId>spring-cloud-starter-openfeign</artifactId>
    </dependency>
    <dependency>
        <groupId>org.springframework.boot</groupId>
    	<artifactId>spring-boot-starter-web</artifactId>
    </dependency>
    <dependency>
        <groupId>org.springframework.boot</groupId>
    	<artifactId>spring-boot-starter-actuator</artifactId>
    </dependency>
    <dependency>
        <groupId>org.projectlombok</groupId>
        <artifactId>lombok</artifactId>
    	<optional>true</optional>
    </dependency>
    <dependency>
        <groupId>org.springframework.boot</groupId>
        <artifactId>spring-boot-starter-test</artifactId>
    	<scope>test</scope>
    </dependency>
    <dependency>
        <groupId>com.atguigu.springcloud</groupId>
        <artifactId>cloud-api-commons</artifactId>
    	<version>${project.version}</version>
	</dependency>
</dependencies>
#yml配置
server:
  port: 8401

spring:
  application:
    name: cloudalibaba-sentinel-service
  cloud:
    nacos:
      discovery:
        #Nacos服务注册中心地址
        server-addr: localhost:8848
    sentinel:
      transport:
        #配置sentinel dashboard地址
        dashboard: localhost:8080
        #默认8719端口,假如被占用会自动从8719开始依次+1扫描,直至找到未被占用的端口
        port: 8719

management:
  endpoints:
    web:
      exposure:
        include: '*'
//主启动
package com.atguigu.springcloud.alibaba;
import org.springframework.boot.SpringApplication;
import org.springframework.boot.autoconfigure.SpringBootApplication;
import org.springframework.cloud.client.discovery.EnableDiscoveryClient;
@SpringBootApplication
@EnableDiscoveryClient
public class MainApp8401 {
    public static void main(String[] args) {
        SpringApplication.run(MainApp8401.class,args);
    }
}
//业务类controller
package com.atguigu.springcloud.alibaba.controller;
import org.springframework.web.bind.annotation.GetMapping;
import org.springframework.web.bind.annotation.RestController;
@RestController
public class FlowLimitController {
    @GetMapping("/testA")
    public String testA(){
        return "--------testA";
    }

    @GetMapping("/testB")
    public String testB(){
        return "--------testB";
    }
}
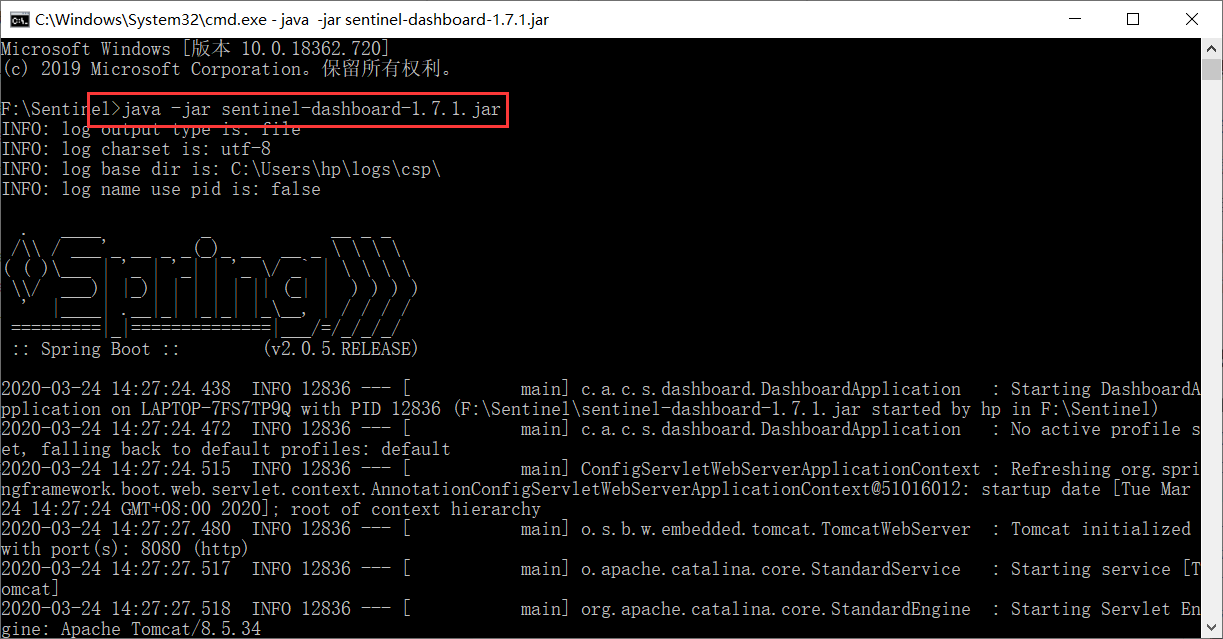
3.启动sentinel8080
java -jar sentinel-dashboard-1.7.x.jar
4.启动8401微服务查看sentinel控制台
先执行一次请求
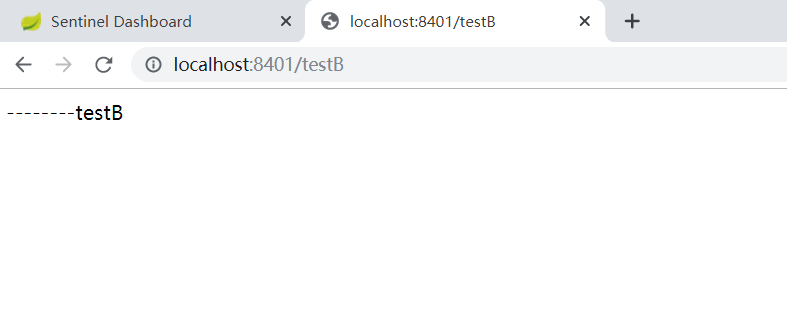
然后打开sentinel监控:

这样sentinel8080就在监控微服务8401了。
最后
以上就是洁净薯片最近收集整理的关于Sentinel 初始化监控的全部内容,更多相关Sentinel内容请搜索靠谱客的其他文章。
本图文内容来源于网友提供,作为学习参考使用,或来自网络收集整理,版权属于原作者所有。


发表评论 取消回复