1. 预备环境
artifactory ( 开源版本 )
maven
jenkins
jenkins artifactory plugin (在插件管理安装即可)
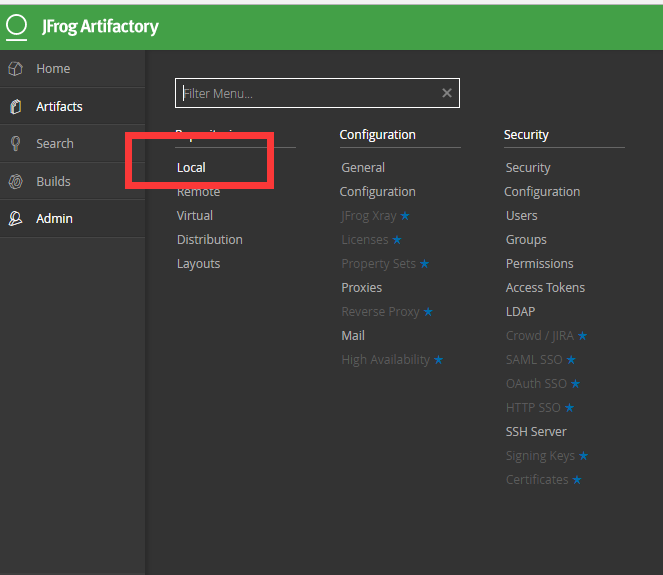
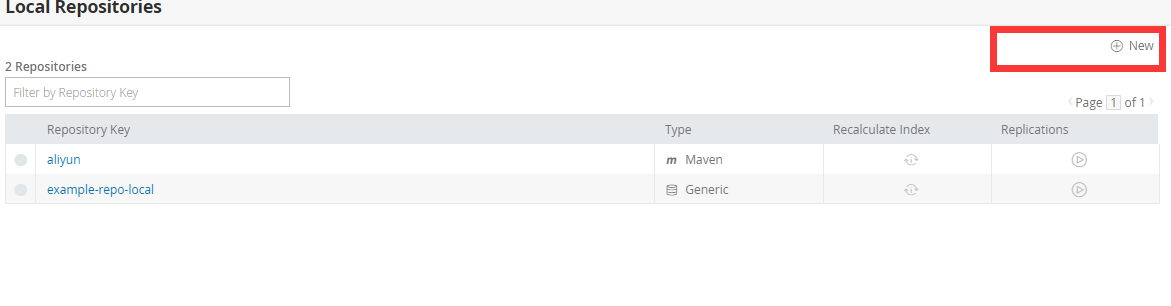
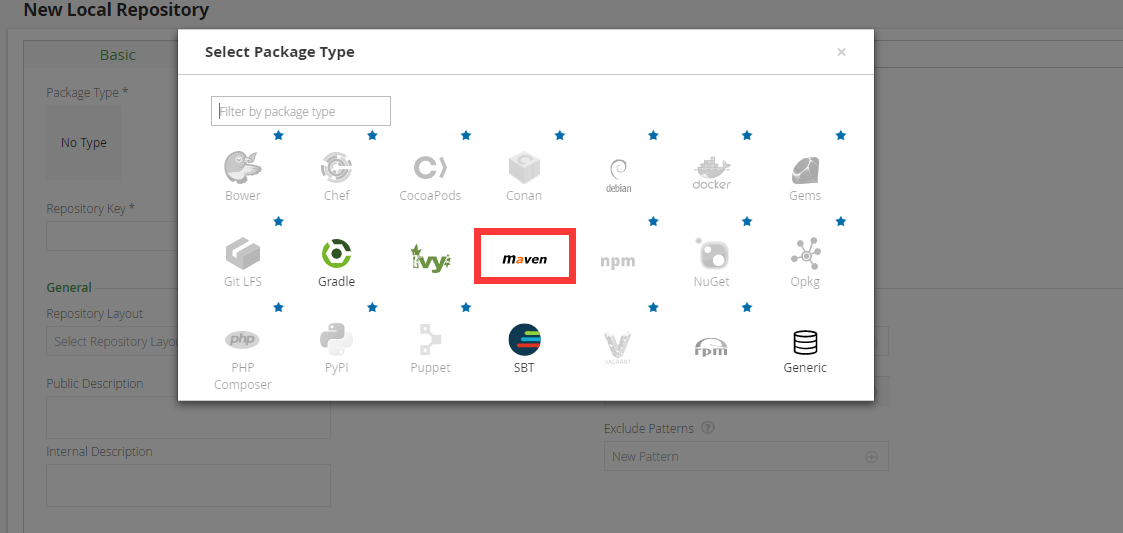
2. 配置artifactory
a. maven local 仓库
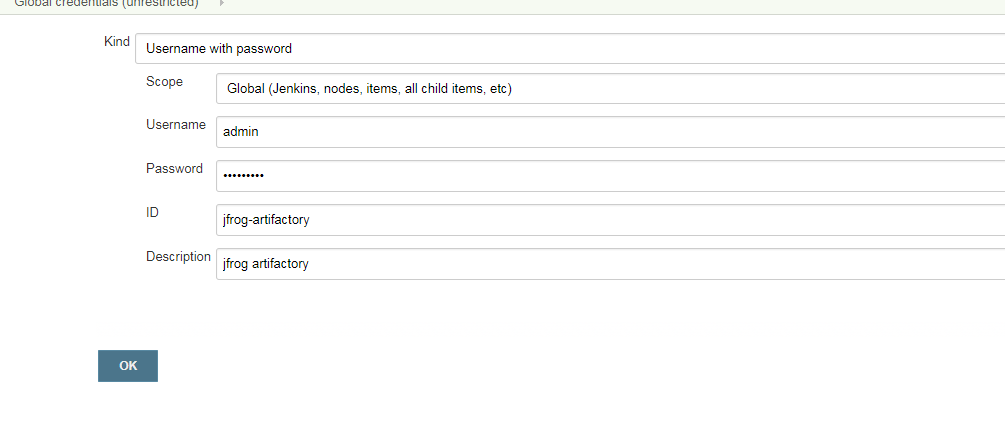
b. jenkins 配置(添加 artifactory 账户信息)
3. jenkins pipeline 配置(实例使用github 实例)
jenkinsfile 内容如下:
node("docker-64") {
def server = Artifactory.newServer url: "http://xxxxxx:8081/artifactory", credentialsId: 'jfrog-artifactory'
def rtMaven = Artifactory.newMavenBuild()
def buildInfo
stage ('Clone') {
git url: 'https://github.com/jfrogdev/project-examples.git'
}
stage ('Artifactory configuration') {
rtMaven.tool = '64maven' // Tool name from Jenkins configuration
rtMaven.deployer releaseRepo: 'aliyun', snapshotRepo: 'aliyun', server: server
buildInfo = Artifactory.newBuildInfo()
}
stage ('Exec Maven') {
rtMaven.run pom: 'maven-example/pom.xml', goals: 'clean install', buildInfo: buildInfo
}
stage ('Publish build info') {
server.publishBuildInfo buildInfo
}
}
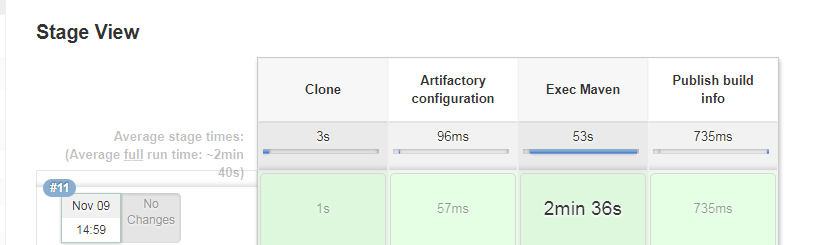
4. jenkins 构建效果
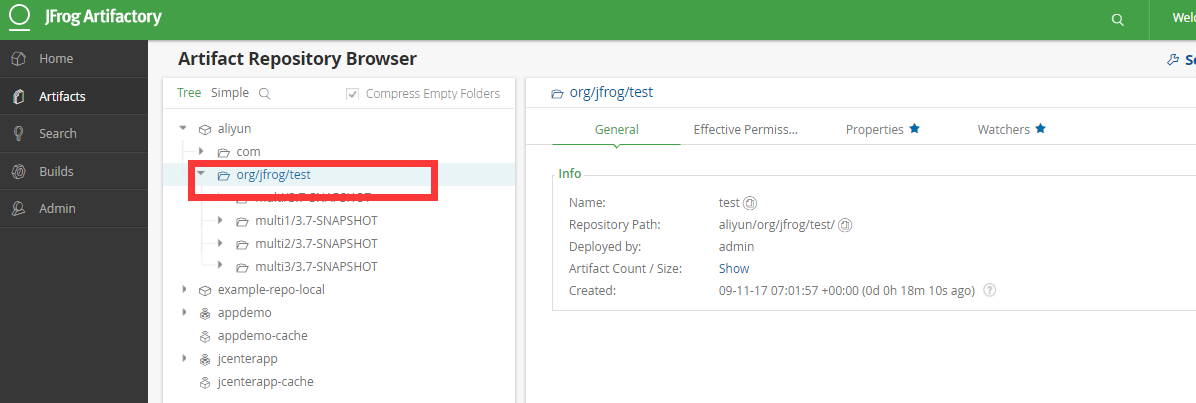
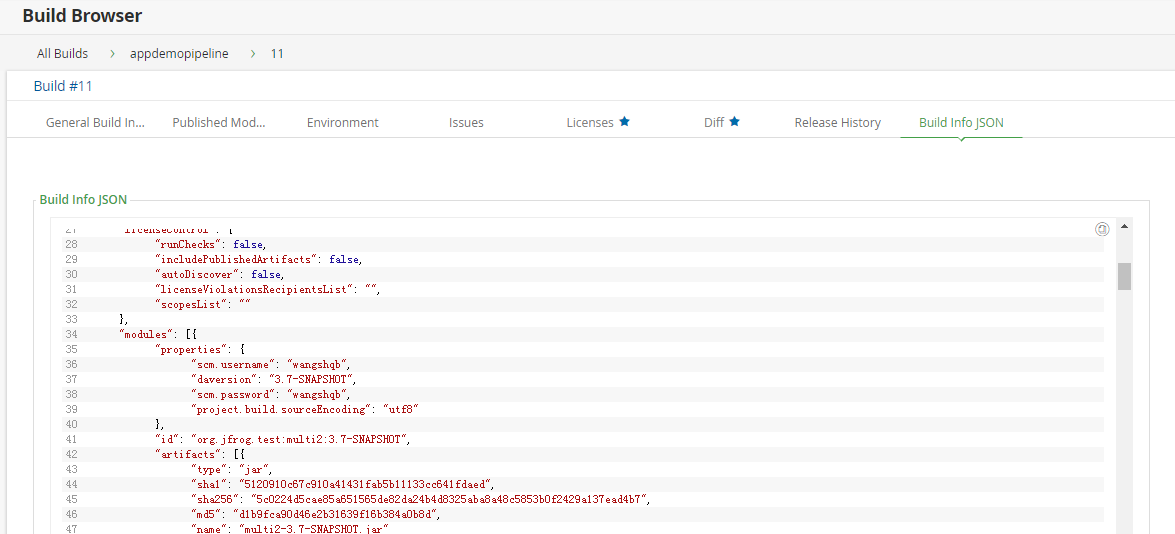
5. artifactory 效果


6. 总结
总的来说还是比较好用的,结合jenkins pipeline 可能方便的进行信息的查看,同时jfrog artifactory 的功能也是比较强大的,可以方便我们进行历史构建信息的查询
7. 参考资料
https://wiki.jenkins.io/display/JENKINS/Artifactory+Plugin
http://www.jfrogchina.com/open-source
最后
以上就是大方灰狼最近收集整理的关于jfrog artifactory jenkins pipeline 集成的全部内容,更多相关jfrog内容请搜索靠谱客的其他文章。
本图文内容来源于网友提供,作为学习参考使用,或来自网络收集整理,版权属于原作者所有。


![Jfrog Artifactory jenkins 流水线使用docker的方式培训[暂未成功]](https://www.shuijiaxian.com/files_image/reation/bcimg23.png)


![linux 添加和删除用户,[转载]linux添加和删除用户](https://www.shuijiaxian.com/files_image/reation/bcimg27.png)

发表评论 取消回复