NCNN配置过程,先记个草稿,搞定后再来重新写文档:
下载源码
NCNN官方GitHub:https://github.com/Tencent/ncnn/
NCNN官网:https://ncnn.docsforge.com/
参考:
《NCNN框架配置+win10+vs2017+跑通demo》
《【ncnn】NCNN + WIN10 + VS2015 编译和测试》
《【Pytorch->ONNX->NCNN->NCNNfp16->vs编译】》
编译NCNN: 参考:《Build for Windows x64 using VS2017》
$ git clone https://github.com/Tencent/ncnn.git
$ cd ncnn
$ git submodule update --init
D:CodeNCNN>git clone https://github.com/Tencent/ncnn.git
Cloning into 'ncnn'...
remote: Enumerating objects: 25168, done.
remote: Counting objects: 100% (342/342), done.
remote: Compressing objects: 100% (214/214), done.
remote: Total 25168 (delta 258), reused 170 (delta 128), pack-reused 24826
Receiving objects: 100% (25168/25168), 17.23 MiB | 7.96 MiB/s, done.

Resolving deltas: 100% (21084/21084), done.

D:CodeNCNN>cd ncnn

D:CodeNCNNncnn>git submodule update --init
Submodule 'glslang' (https://github.com/KhronosGroup/glslang) registered for path 'glslang'
Submodule 'python/pybind11' (https://github.com/pybind/pybind11.git) registered for path 'python/pybind11'
Cloning into 'D:/Code/NCNN/ncnn/glslang'...
Cloning into 'D:/Code/NCNN/ncnn/python/pybind11'...
Submodule path 'glslang': checked out '4afd69177258d0636f78d2c4efb823ab6382a187'
Submodule path 'python/pybind11': checked out '70a58c577eaf067748c2ec31bfd0b0a614cffba6'

D:CodeNCNNncnn>
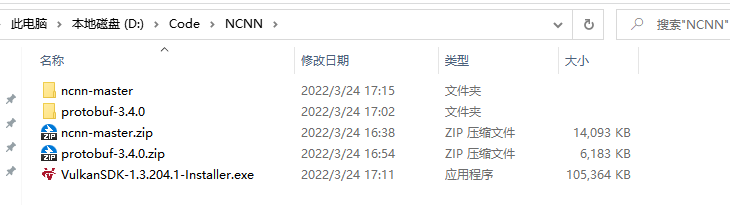
下载 protobuf
下载protobuf-3.4.0源码压缩包: https://github.com/google/protobuf/archive/v3.4.0.zip
编译 ptotobuf:
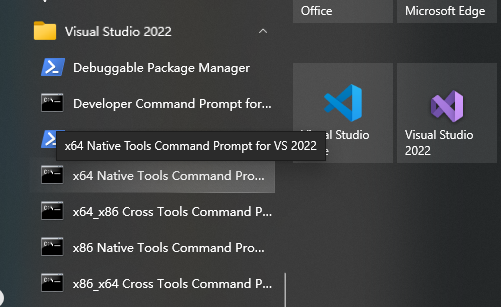
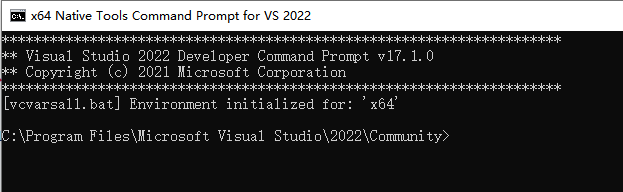
Start → Programs → Visual Studio 2022 → Visual Studio Tools → x64 Native Tools Command Prompt for VS 2022
开始编译 protobuf lib库
C:Program FilesMicrosoft Visual Studio2022Community>D:
D:>cd CodeNCNNprotobuf-3.4.0

mkdir out
cd out
cmake -G"NMake Makefiles" -DCMAKE_BUILD_TYPE=Release -DCMAKE_INSTALL_PREFIX=%cd%/install -Dprotobuf_BUILD_TESTS=OFF -Dprotobuf_MSVC_STATIC_RUNTIME=OFF ../cmake
nmake
nmake install
编译成功,如下:

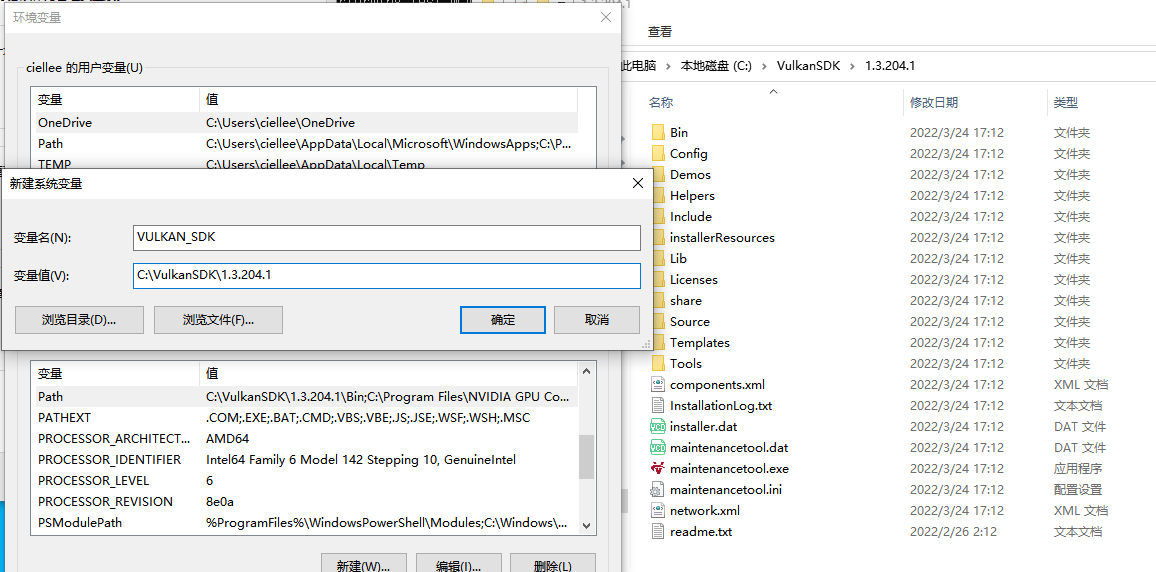
下载Vulkan SDK : https://vulkan.lunarg.com/sdk/home
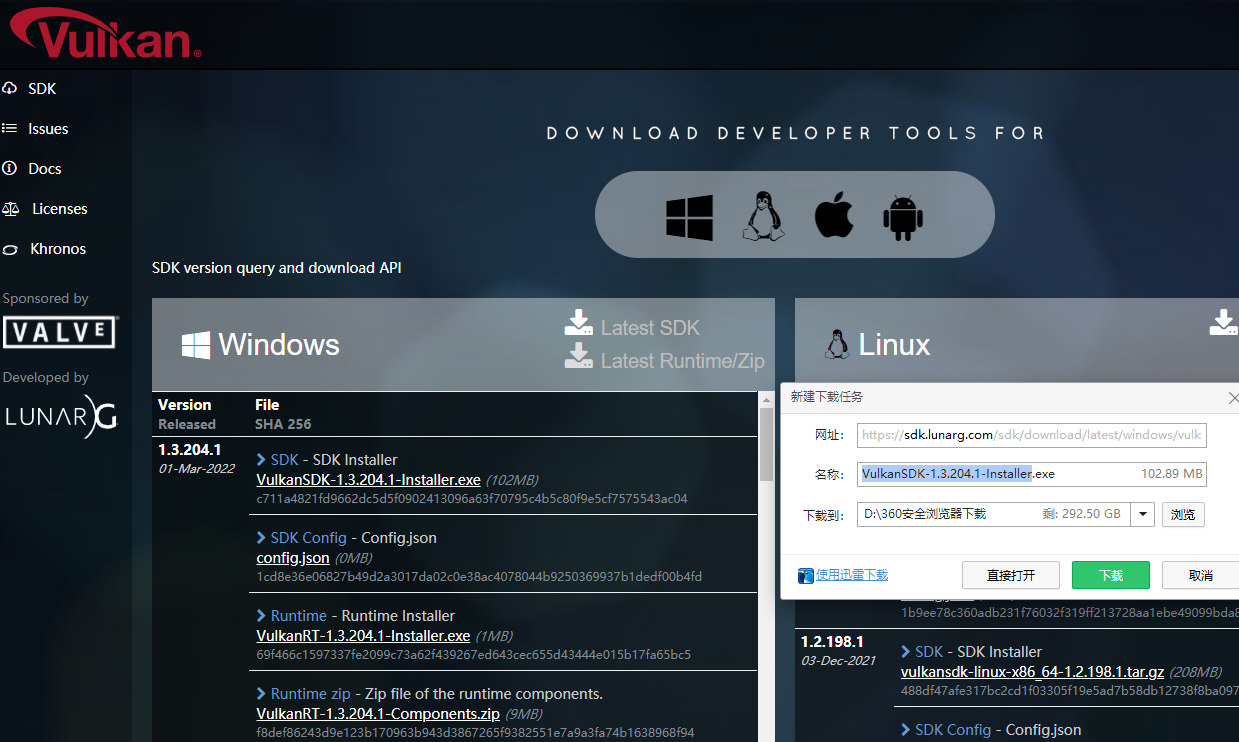
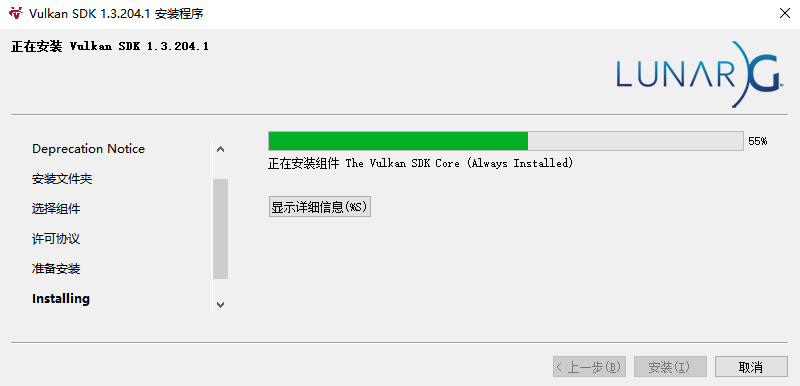
下载好后,直接下一步下一步安装就可以了:
安装后添加环境变量:
Linux: export VULKAN_SDK=~/soft/vulkansdk/1.2.148.0/x86_64
Windows: set VULKAN_SDK=E:/lib/VulkanSDK/1.2.148.0
MacOS: export VULKAN_SDK=~/soft/vulkansdk/1.2.148.0/macOS
开始编译NCNN lib库
cd <ncnn-root-dir>
mkdir -p build
cd build
cmake -G"NMake Makefiles" -DCMAKE_BUILD_TYPE=Release -DCMAKE_INSTALL_PREFIX=%cd%/install -DProtobuf_INCLUDE_DIR=<protobuf-root-dir>/build/install/include -DProtobuf_LIBRARIES=<protobuf-root-dir>/build/install/lib/libprotobuf.lib -DProtobuf_PROTOC_EXECUTABLE=<protobuf-root-dir>/build/install/bin/protoc.exe -DNCNN_VULKAN=ON ..
nmake
nmake install
因为我的代码中,probobuf 在放在上一级目录的,并且编译在 out中,
所以 <protobuf-root-dir>/build/ 要改成D:CodeNCNNprotobuf-3.4.0out
同时增加:-DOpenCV_DIR=C:opencvbuild 指定Opencv路径
注意改成:
cmake -G"NMake Makefiles" -DCMAKE_BUILD_TYPE=Release -DCMAKE_INSTALL_PREFIX=%cd%/install -DProtobuf_INCLUDE_DIR=D:CodeNCNNprotobuf-3.4.0outinstallinclude -DOpenCV_DIR=C:opencvbuild -DProtobuf_LIBRARIES=D:CodeNCNNprotobuf-3.4.0outinstallliblibprotobuf.lib -DProtobuf_PROTOC_EXECUTABLE=D:CodeNCNNprotobuf-3.4.0outinstallbinprotoc.exe -DNCNN_VULKAN=ON ..
生成编译工程成功,结果如下:
D:CodeNCNNncnnbuild>cmake -G"NMake Makefiles" -DCMAKE_BUILD_TYPE=Release -DCMAKE_INSTALL_PREFIX=%cd%/install -DProtobuf_INCLUDE_DIR=D:CodeNCNNprotobuf-3.4.0outinstallinclude  -DOpenCV_DIR=C:opencvbuild -DProtobuf_LIBRARIES=D:CodeNCNNprotobuf-3.4.0outinstallliblibprotobuf.lib -DProtobuf_PROTOC_EXECUTABLE=D:CodeNCNNprotobuf-3.4.0outinstallbinprotoc.exe -DNCNN_VULKAN=ON ..
-- CMAKE_INSTALL_PREFIX = D:CodeNCNNncnnbuild/install
-- NCNN_VERSION_STRING = 1.0.20220324
-- Target arch: x86
-- OpenCV library: C:/opencv/build
--     version: 4.5.5
--     libraries: opencv_world
--     include path: C:/opencv/build/include
-- Found Protobuf: D:CodeNCNNprotobuf-3.4.0outinstallliblibprotobuf.lib (found version "3.4.0")
-- Configuring done
-- Generating done
-- Build files have been written to: D:/Code/NCNN/ncnn/build

D:CodeNCNNncnnbuild>
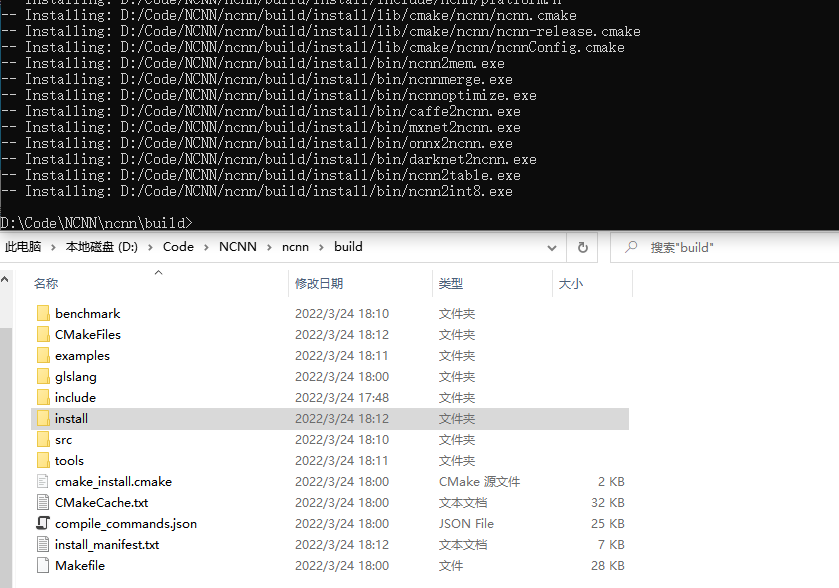
nmake开始编译,编译成功后,nmake install,结果如下:
github拉不了代码的问题
D:CodeNCNN>git clone https://github.com/Tencent/ncnn.git
Cloning into 'ncnn'...
fatal: unable to access 'https://github.com/Tencent/ncnn.git/': OpenSSL SSL_connect: Connection was reset in connection to github.com:443

D:CodeNCNN>git config --global http.sslBackend "openssl"
D:CodeNCNN>git config --global http.sslCAInfo "C:Program FilesGitmingw64sslcert.pem"

D:CodeNCNN>
D:CodeNCNN>git clone https://github.com/Tencent/ncnn.git
Cloning into 'ncnn'...
remote: Enumerating objects: 25168, done.
remote: Counting objects: 100% (342/342), done.
remote: Compressing objects: 100% (214/214), done.
remote: Total 25168 (delta 258), reused 170 (delta 128), pack-reused 24826
Receiving objects: 100% (25168/25168), 17.23 MiB | 7.96 MiB/s, done.

Resolving deltas: 100% (21084/21084), done.

D:CodeNCNN>
《ncnn初探》
《在ncnn中 新建 一个层》
最后
以上就是兴奋蓝天最近收集整理的关于NCNN配置过程---草稿的全部内容,更多相关NCNN配置过程---草稿内容请搜索靠谱客的其他文章。


发表评论 取消回复